
Continuous Glucose Monitors (CGMs) have revolutionized the way individuals with diabetes manage their health by providing real-time data on blood glucose levels. However, like any technological device, CGMs are not immune to occasional hiccups that can disrupt the seamless monitoring experience.
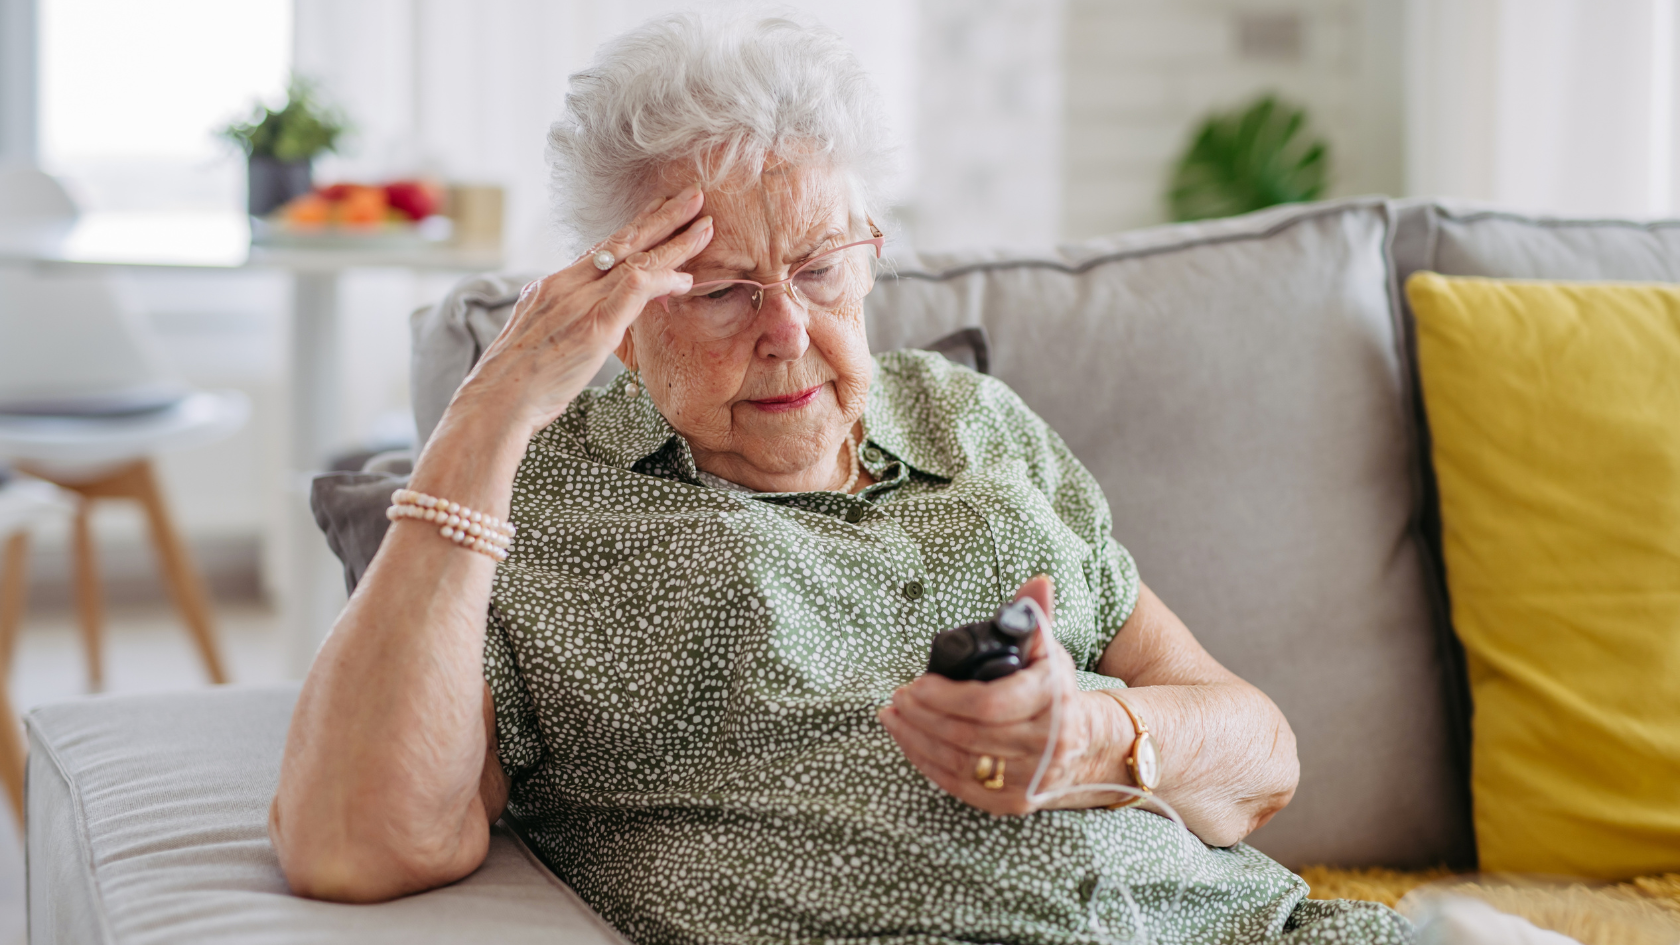
If you’ve ever received error messages, experienced signal loss, or found your CGM not providing readings, you’re not alone. In this article, we will explore common issues faced by CGMs and guide you through troubleshooting steps to ensure uninterrupted monitoring.
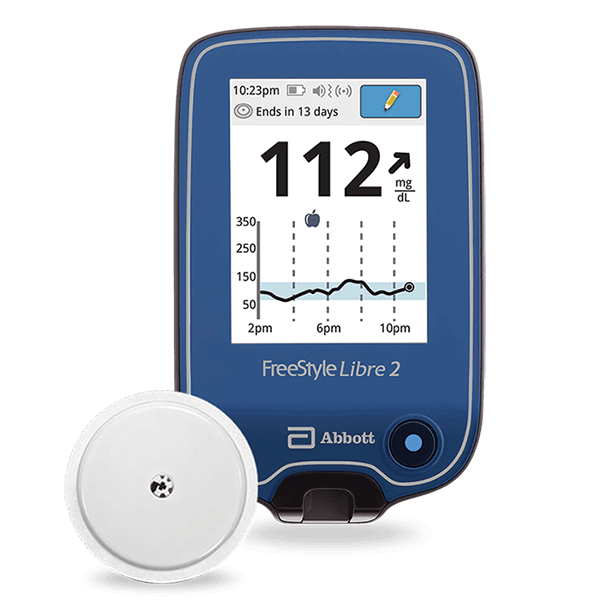
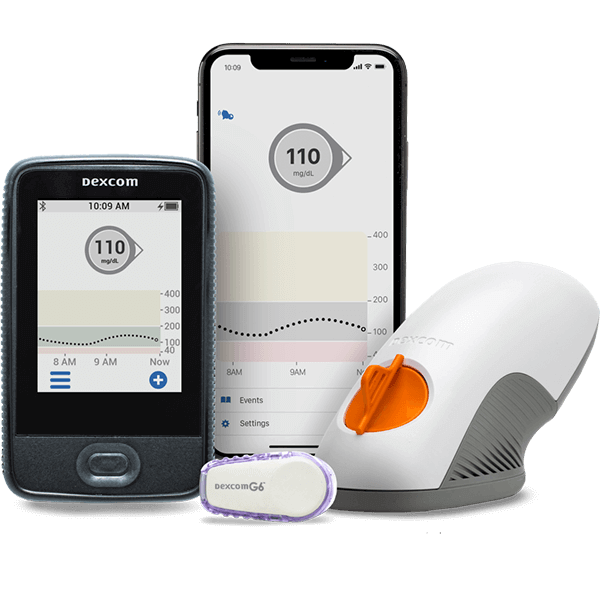
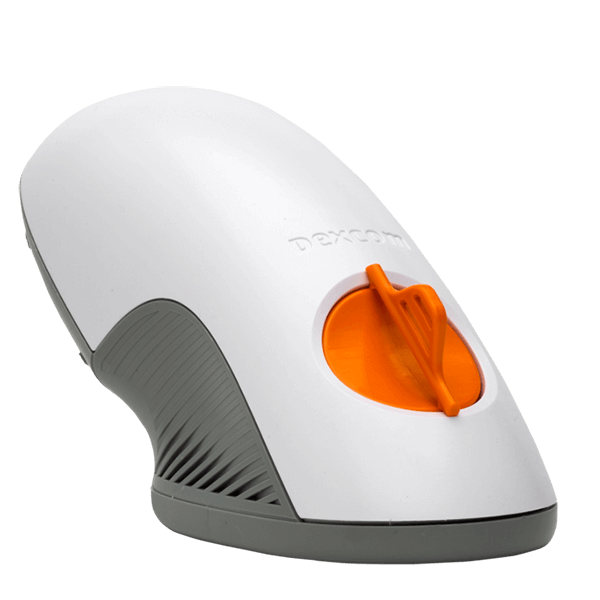
Whether you’re using a Dexcom G6, Freestyle Libre 2, or any other CGM, these general tips and solutions will help you get back on track with your continuous glucose monitoring again, allowing you to stay in control of your health.
Types of CGM Error Messages
Continuous Glucose Monitoring (CGMs) may encounter different error messages, which can disrupt your monitoring experience. These error messages may include:
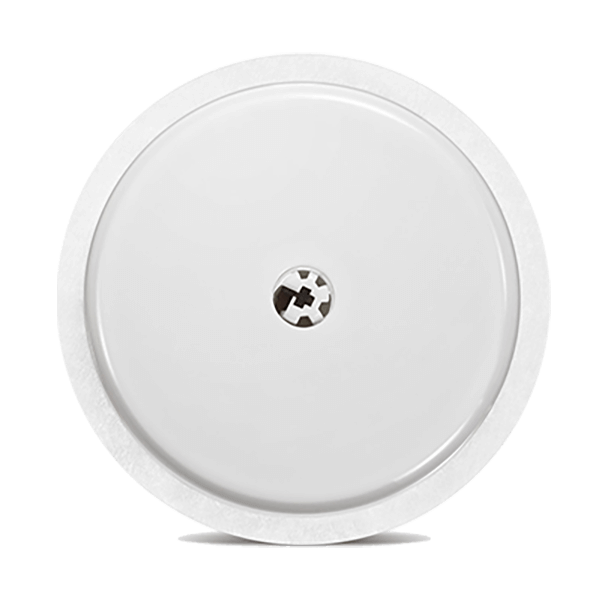
Sensor Error / Sensor Failed / Replace Sensor
These errors can occur if your previous sensor session wasn’t ended, and the transmitter is still trying to connect to the old sensor. To address this issue, disconnect from your old sensor by following the instructions in your monitoring app.
Additionally, ensure that the transmitter is fully seated in the monitoring device. Please note that these errors are not typically caused by the transmitter itself, except in cases where the transmitter has expired.
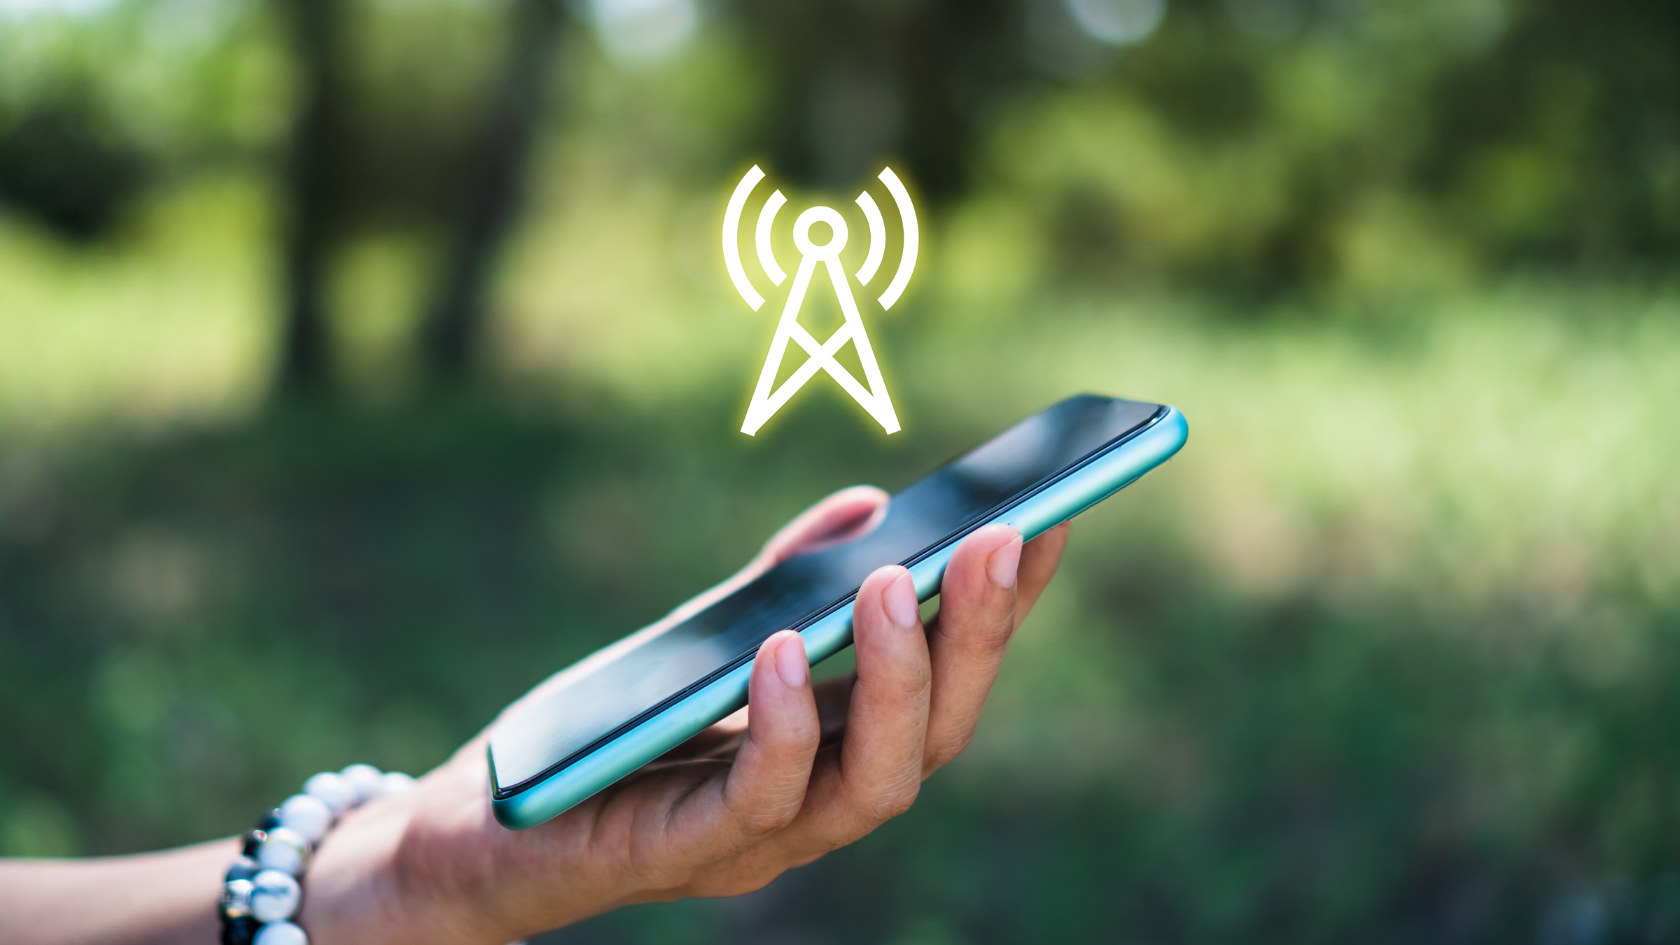
Signal Loss
Signal loss can occur for various reasons, such as being too far away from the monitoring device, issues with your phone’s operating system, or problems with the transmitter. If you experience signal loss symptoms, follow the provided tips and troubleshooting steps. If the problem persists even after 3 hours, consider reaching out to customer support.
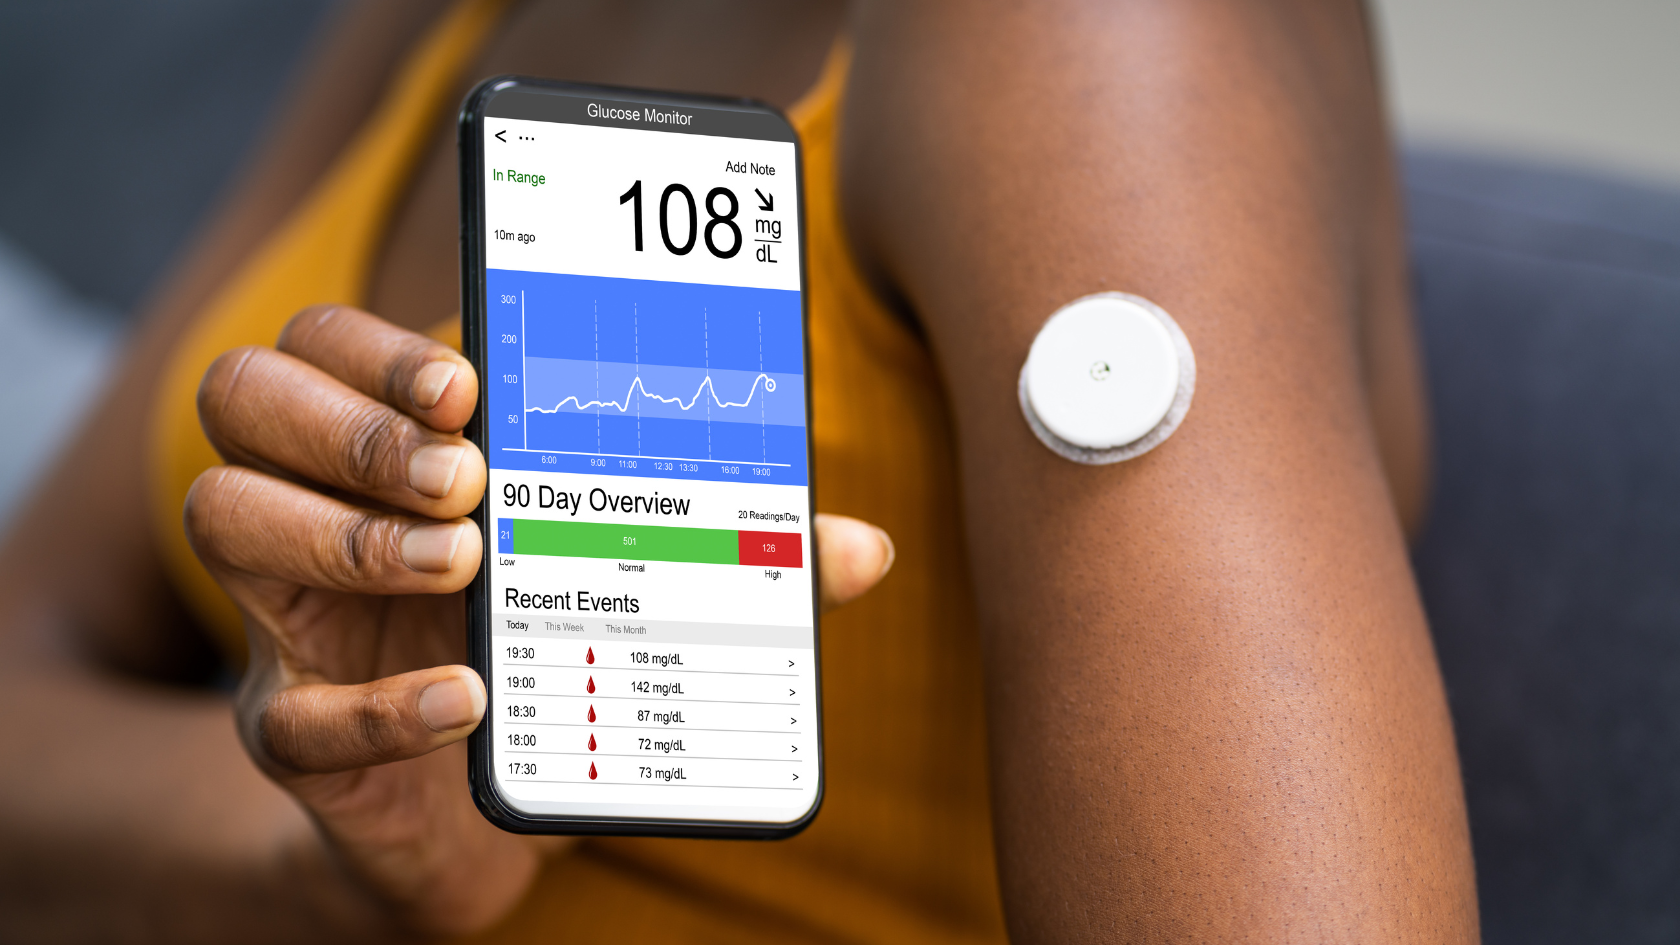
No Readings
When you receive a “No Readings” alert, it means that the sensor is temporarily unable to measure glucose levels. To address this issue, follow the troubleshooting steps provided. If the problem continues for more than 3 hours, it’s recommended to contact customer support for further assistance. CGM transmitters only hold a few hours of data. After some time, there may be gaps in your glucose data. If your CGM app loses connection, continue to log your food and activities in real time using alternative apps. The CGM app will process the remaining data once the connection is restored.
Tips Before Troubleshooting a Continuous Glucose Monitoring System
While modern technology has made continuous monitoring of glucose data easy, you may need to get used to wearing and syncing your new CGM. Most issues can be fixed by following best practices when using your smart device first. For a more seamless monitoring experience with your Continuous Glucose Monitor (CGM), here are steps to ensure a stable connection.
Refer to your user guide for details about your specific CGM system.
Mind Proximity and Barriers
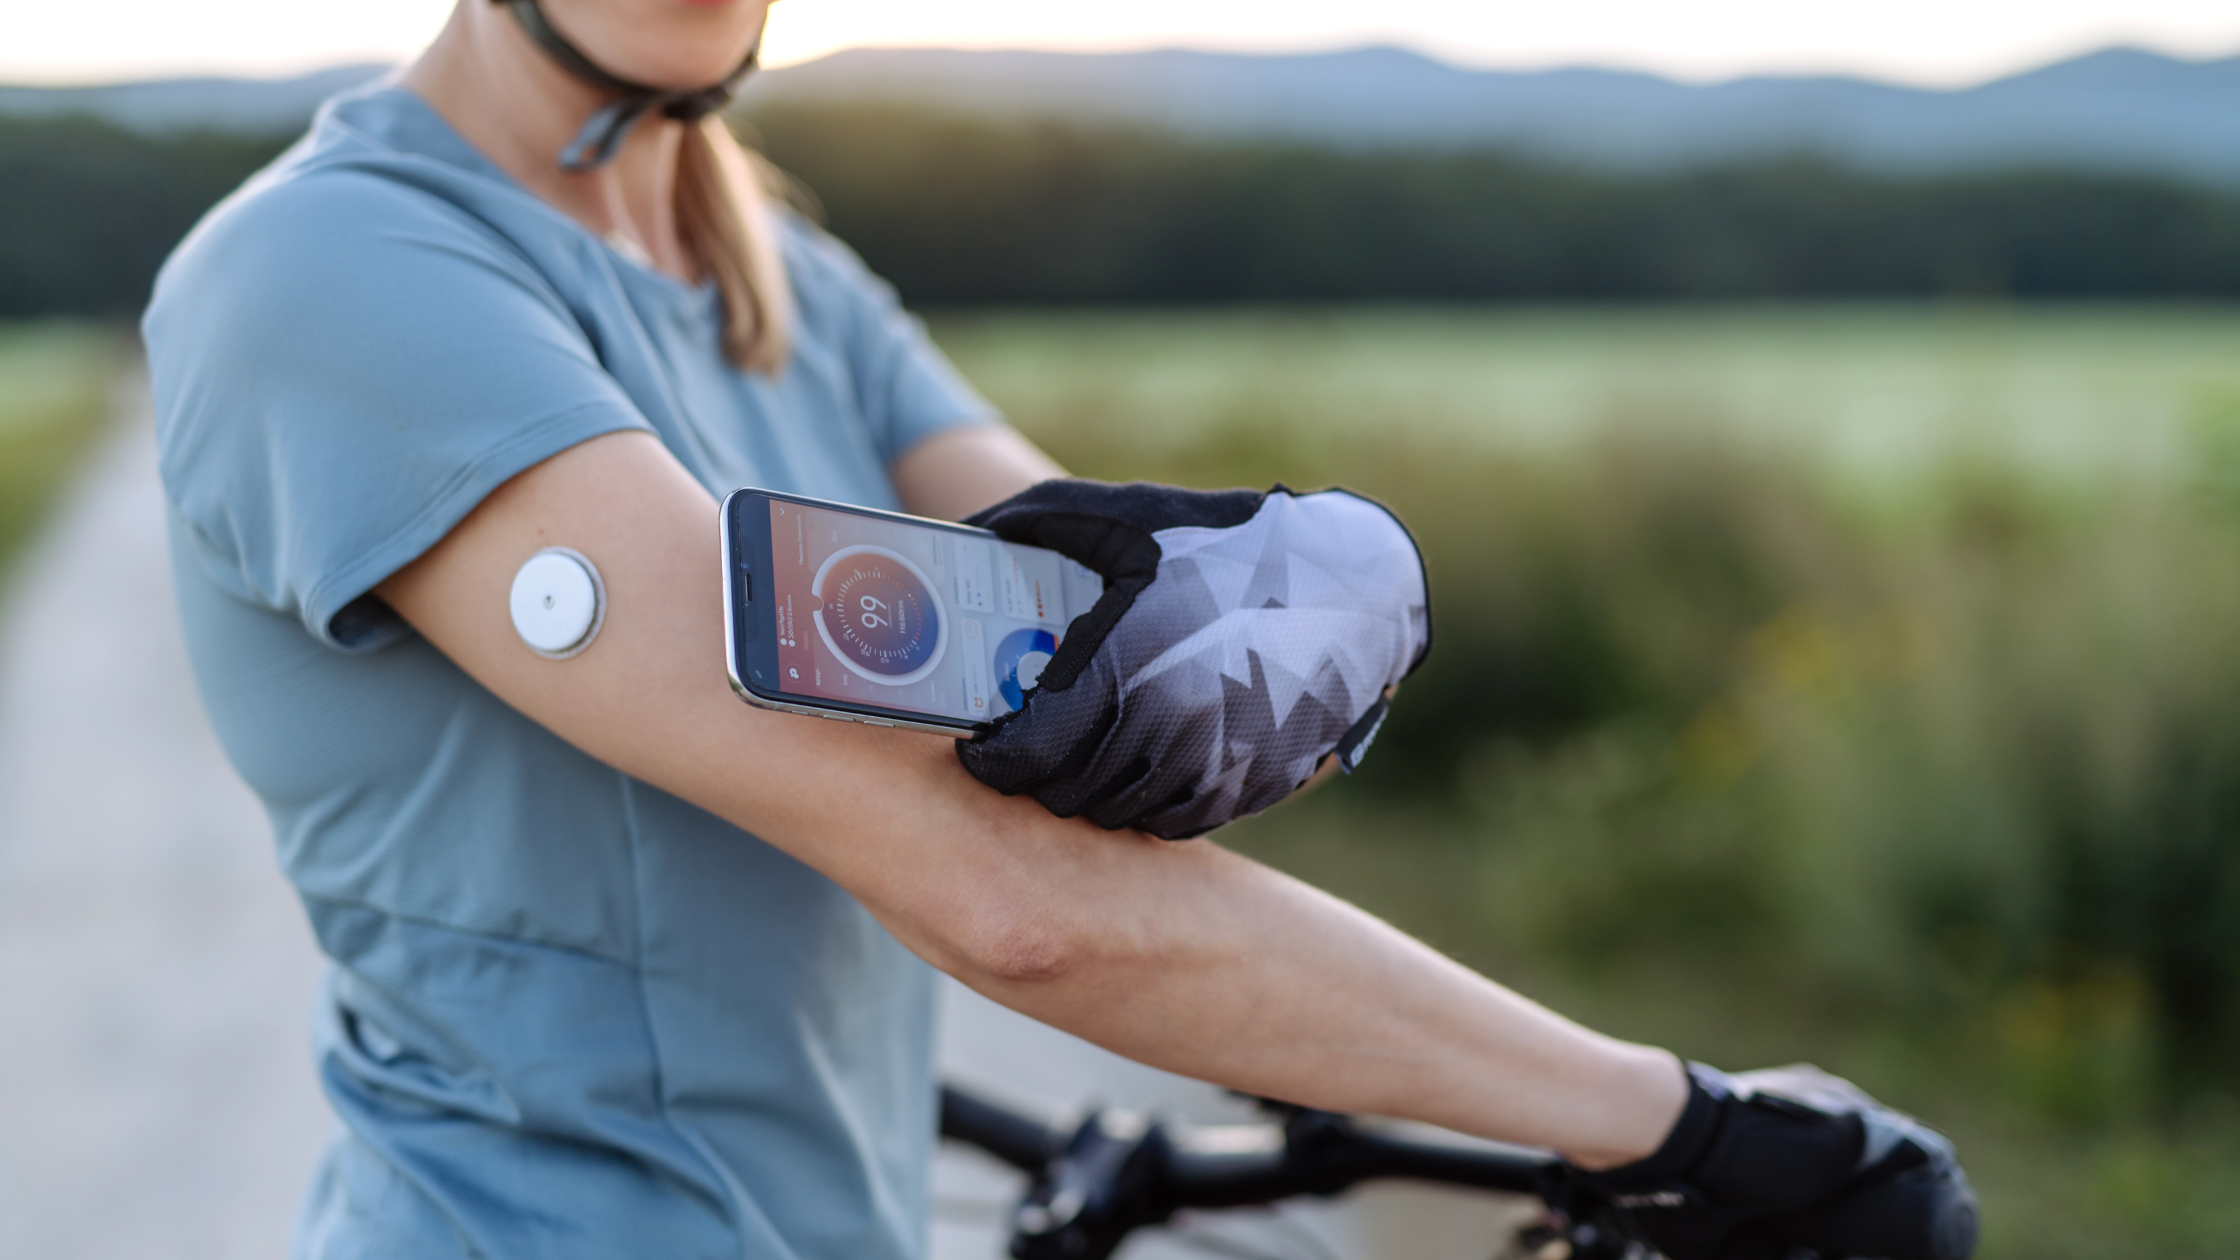
Make sure that your mobile device remains within 20 feet of your own CGM system. Be mindful of physical barriers like walls, water, cement, and metal, which can interfere with the signal.
Check Your Bluetooth Pairings
Keep Bluetooth pairings on your mobile device to a minimum. On some devices, such as Dexcom G6, it’s normal for the Bluetooth pairing to show as “not connected” because the CGM transmitter connects, sends data, and disconnects every 5 minutes. This is done to extend the battery of the sensors.
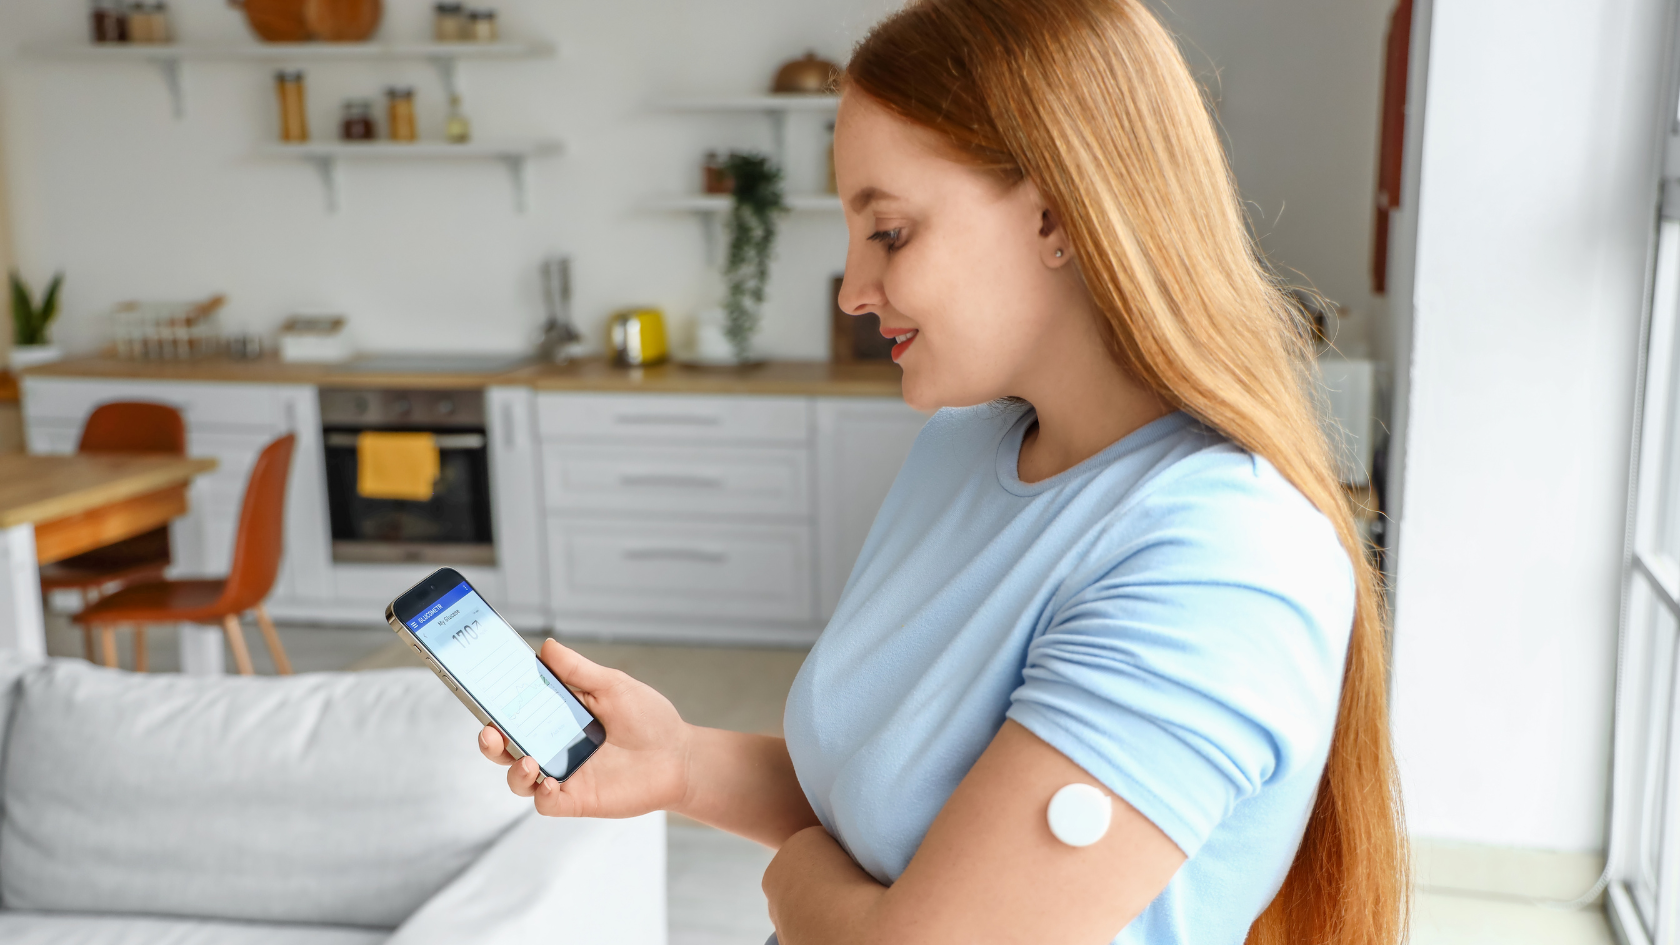
Keep The Monitoring App Open
Never close the CGM monitoring app. You can continue using your device, while the continuous glucose monitoring app runs in the background. Keeping additional running apps to a minimum in the background will help it perform better, especially on older smartphones.
Track of The Battery Life
Make sure that your mobile device is adequately charged. Low power mode on your phone may turn off Bluetooth and cause disconnection with the CGM monitoring app and transmitter.
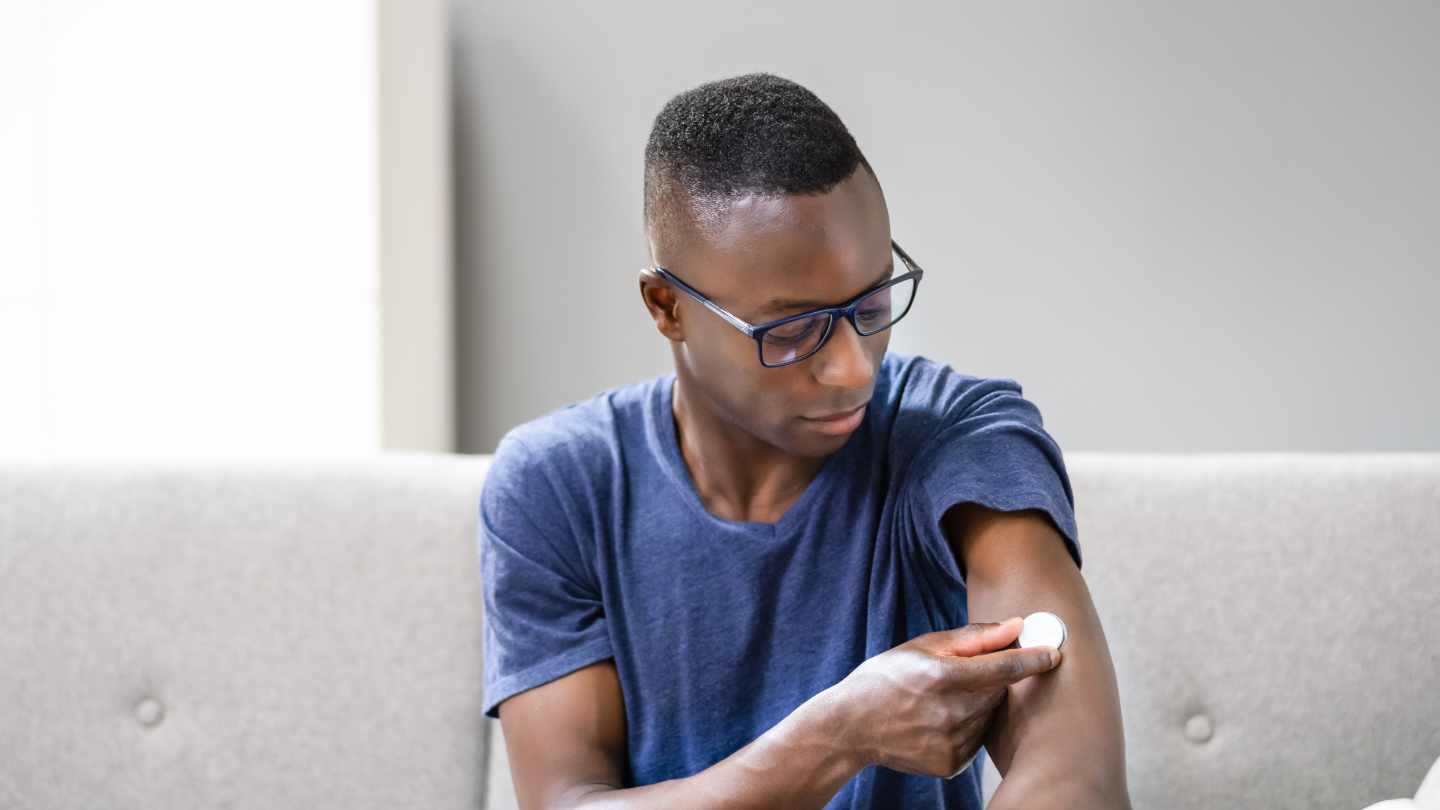
Remember to Replace Sensors
Replacing the sensor every two weeks is not a suggestion. The sensor’s adhesive loses its grip over time, leading to potential detachment or poor adhesion to your skin. This can result in erratic glucose readings and signal interruptions. The sensor’s accuracy also tends to decline, resulting in unreliable blood glucose measurements. If you rely on precise data for insulin dosing and diabetes management, it’s important to make sure your sensor is in good working condition.
Troubleshooting Steps
When you encounter issues with your Continuous Glucose Monitor (CGM), follow these simple troubleshooting steps to resolve common problems:
- Transmitter Seating and Connectivity
Ensure that the transmitter is properly seated in the sensor cradle within the CGM. To do this, press down firmly on the larger end until it clicks into place. Verify that the transmitter lies flat inside the sensor. If it protrudes even slightly, it could lead to connectivity problems. During the transmitter installation, listen for 1-2 clicks to confirm it’s correctly seated and securely connected.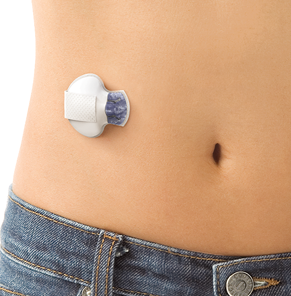
- Location Settings
Check and confirm that location settings are enabled on your mobile device. This step is crucial for some CGM systems to function correctly. You may need to access specific settings on your device to ensure location services are turned on. (Detailed instructions may vary depending on whether you use an iPhone or Android device.) - Disconnecting from Old Sensor
If you’ve recently replaced an old sensor with a new one, it’s important to disconnect from the old sensor within the CGM monitoring app. The app should provide clear instructions on how to do this. Properly ending the previous sensor session can prevent interference with the new one. - Bluetooth Checks
Start by ensuring that your phone’s Bluetooth is turned on. If it’s already enabled, try turning it off and then back on. Allow about 10 minutes for the Bluetooth connection to reset. If you continue to experience signal issues after this step, proceed to the next troubleshooting measures. - Battery Power
Check the battery level of your mobile device. Some phones enter low-power mode, which can disable Bluetooth connectivity, causing problems with your CGM. If your phone’s battery is low, charge it to ensure it operates optimally during monitoring. - Bluetooth Pairing
Confirm that your mobile device’s Bluetooth is paired with the CGM transmitter. Navigate to your phone’s Bluetooth settings and check the list of paired devices. If you don’t see the transmitter listed, delete any existing Bluetooth connections related to the transmitter and then go through the pairing process again. - Restart the Phone and App
A simple yet effective step is to restart your mobile device and reopen the CGM monitoring app. Ensure that you close all background apps before performing this step to avoid potential conflicts. - Sharing Settings
Enable sharing settings within your CGM monitoring app. Access the app and locate the sharing settings. Toggle the sharing option off and then back on. This action should help reset any connectivity issues between the CGM app and other related applications. - Update Your App
Keeping Continuous Glucose Monitors (CGMs) updated with the latest software is a critical aspect of ensuring their accuracy and efficiency. Software updates often bring improvements in the precision of glucose readings, aligning them more closely with laboratory standards. Moreover, updates can also include new features that make the CGMs more user-friendly and adaptive to different lifestyles or monitoring needs. For example, improvements might be made in how the device interfaces with smartphones or other digital platforms, enhancing data accessibility and user experience.
By following these troubleshooting steps, you should be able to address most issues with your CGM device and maintain reliable blood glucose monitoring on most CGM devices.
If after following all the steps, your CGM monitor still doesn’t work, contact your provider as soon as possible and stay in control of your health.
Other tips for better glucose level readings
Data Backup
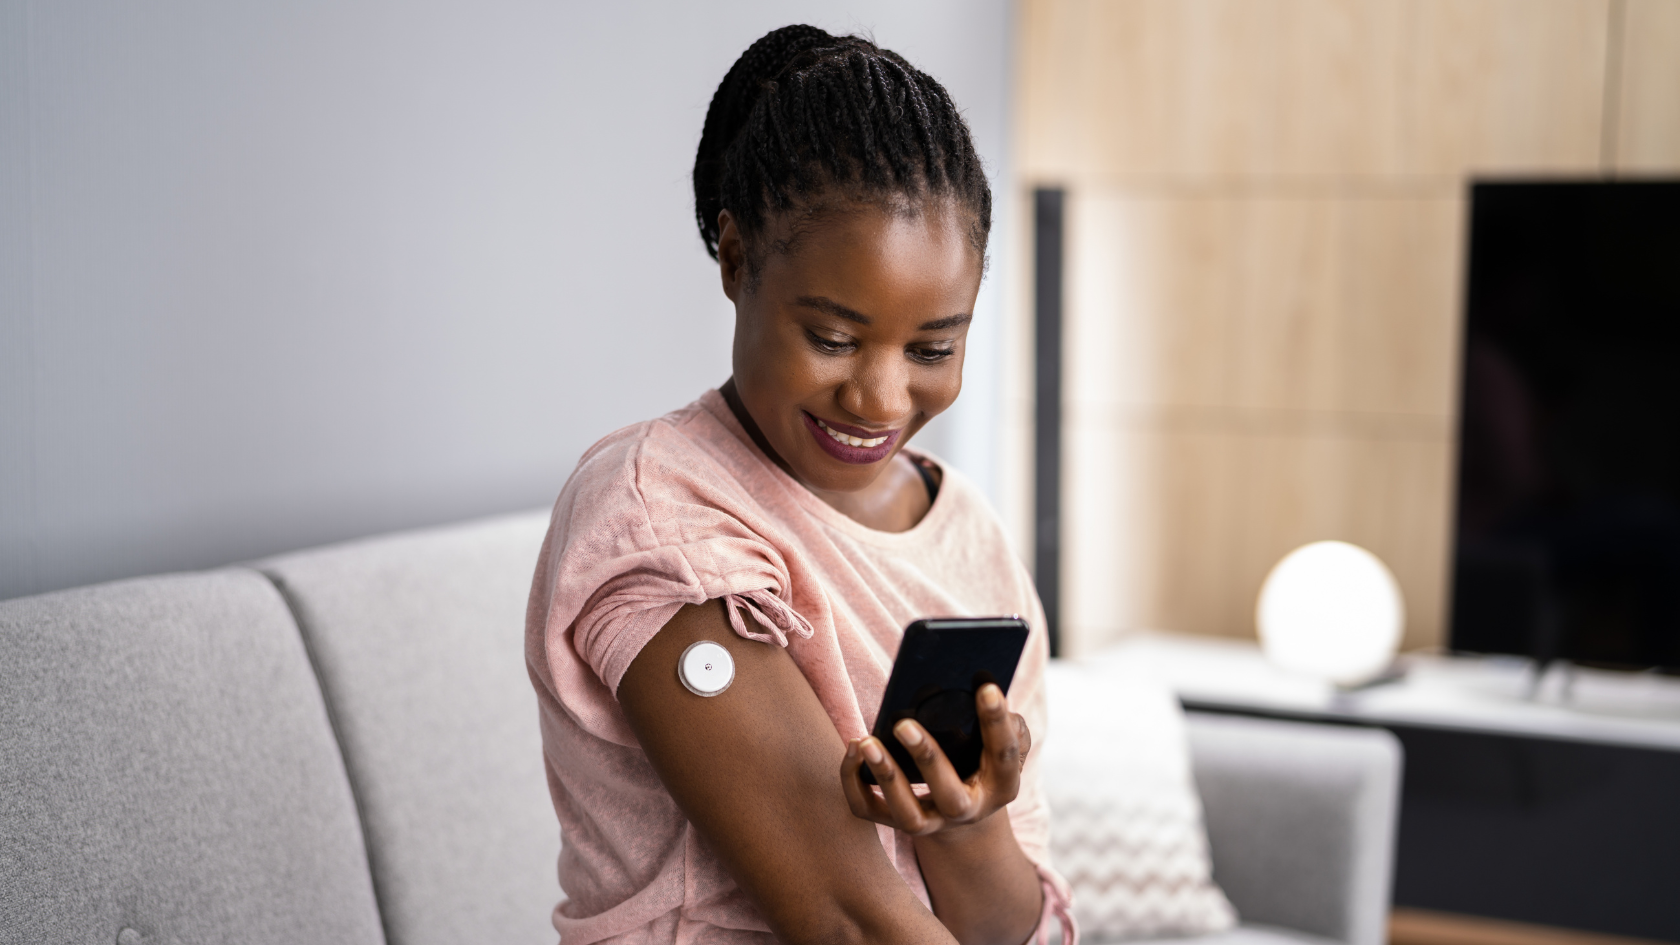
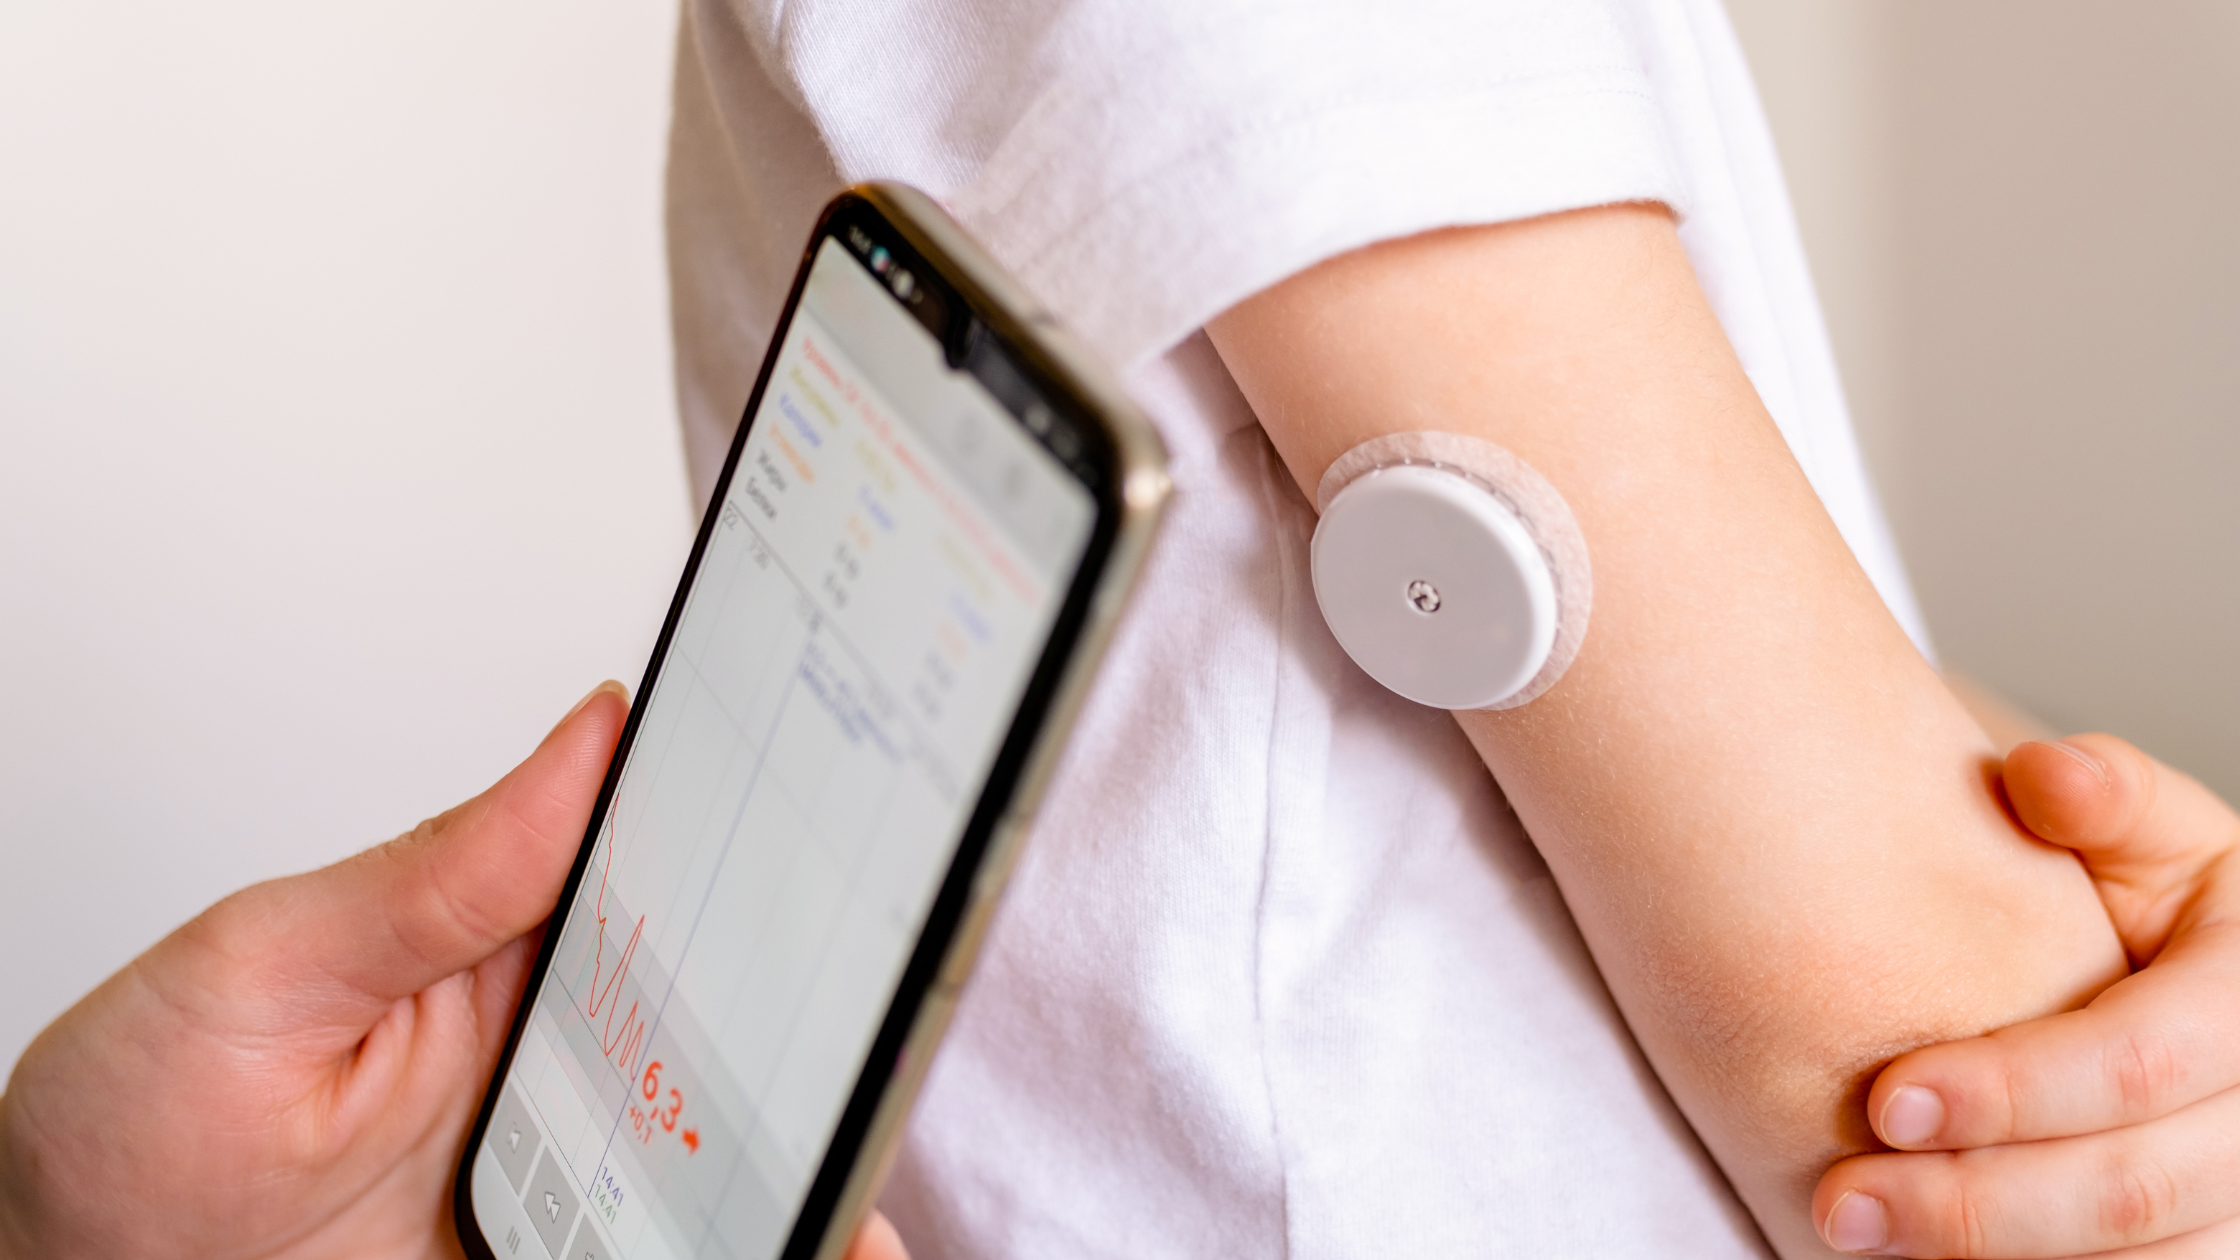
Regularly downloading and reviewing CGM data is crucial for effective diabetes management. CGM users can download their real-time glucose levels, trends, and history to a computer at any time. Some CGM systems even send data continuously. This allows for thorough analysis and sharing of information with healthcare providers. By regularly backing up and reviewing this data, users can identify patterns and anomalies in their glucose levels, aiding in more informed diabetes management decisions.
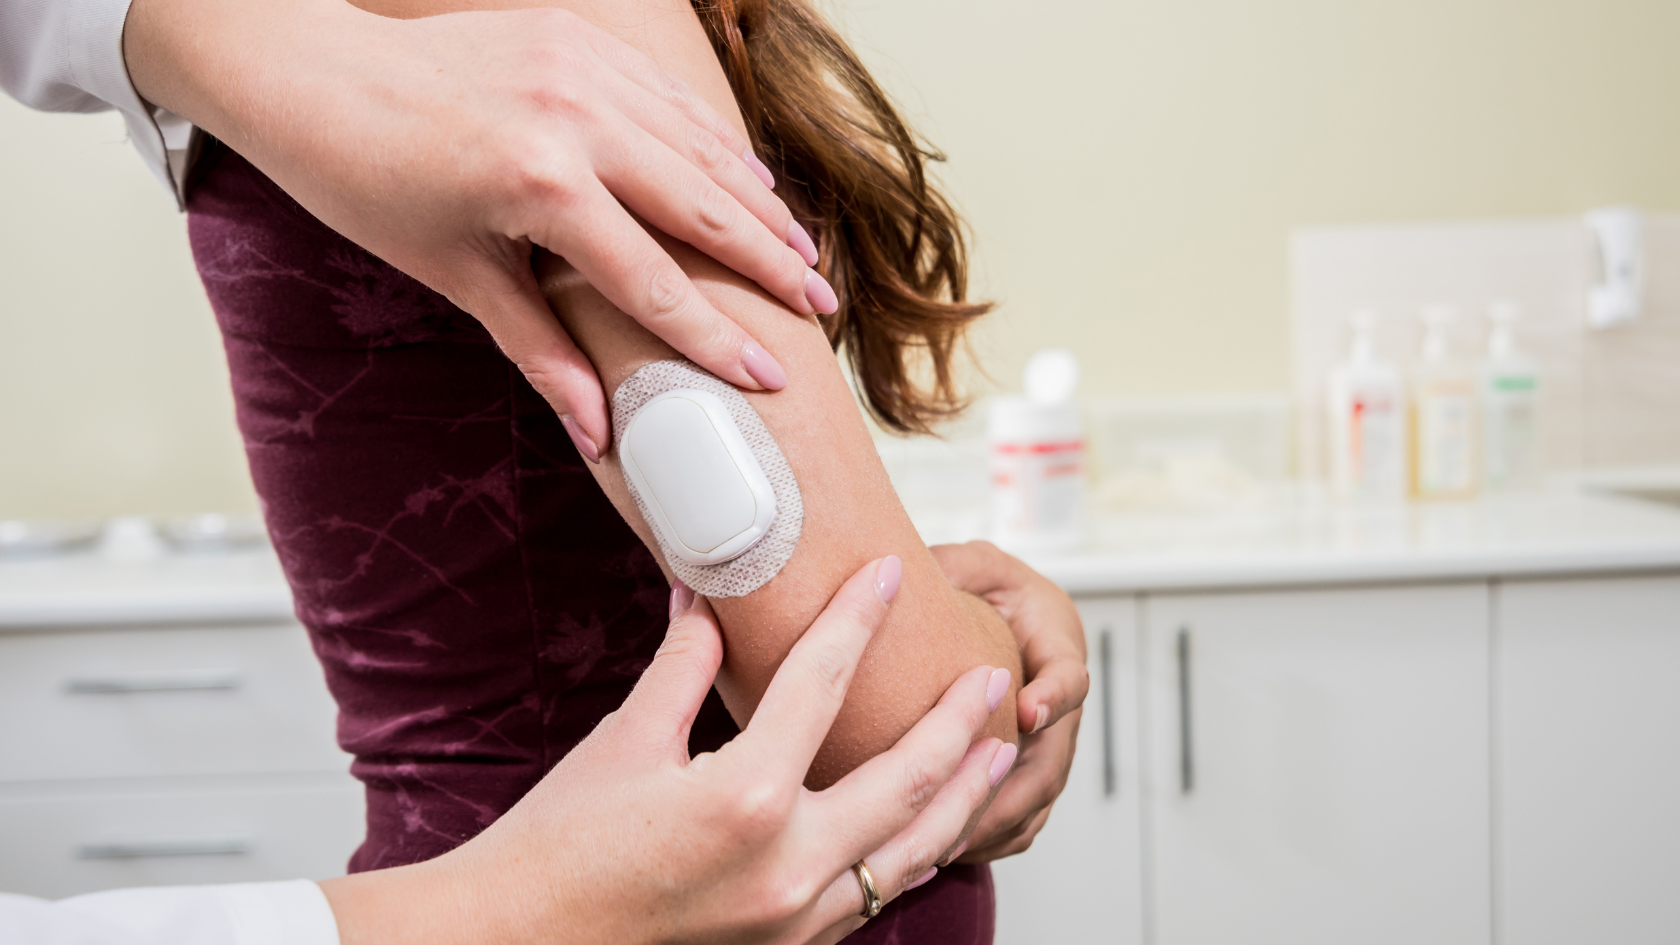
Skin Care for CGM Sensor Sites
Proper skin care at the CGM sensor sites is crucial for preventing irritation and ensuring the sensor’s effectiveness. Following certain practices can help maintain skin health and improve the sensor’s adherence and accuracy.
Cleaning and Preparing the Skin
Before applying the CGM sensor, it’s important to clean the skin area with oil-free, antimicrobial soap and dry it thoroughly. If the skin is oily, gentle exfoliation is recommended. Additionally, trimming any hair at the site with a dry razor can help in ensuring that the sensor adheres properly.
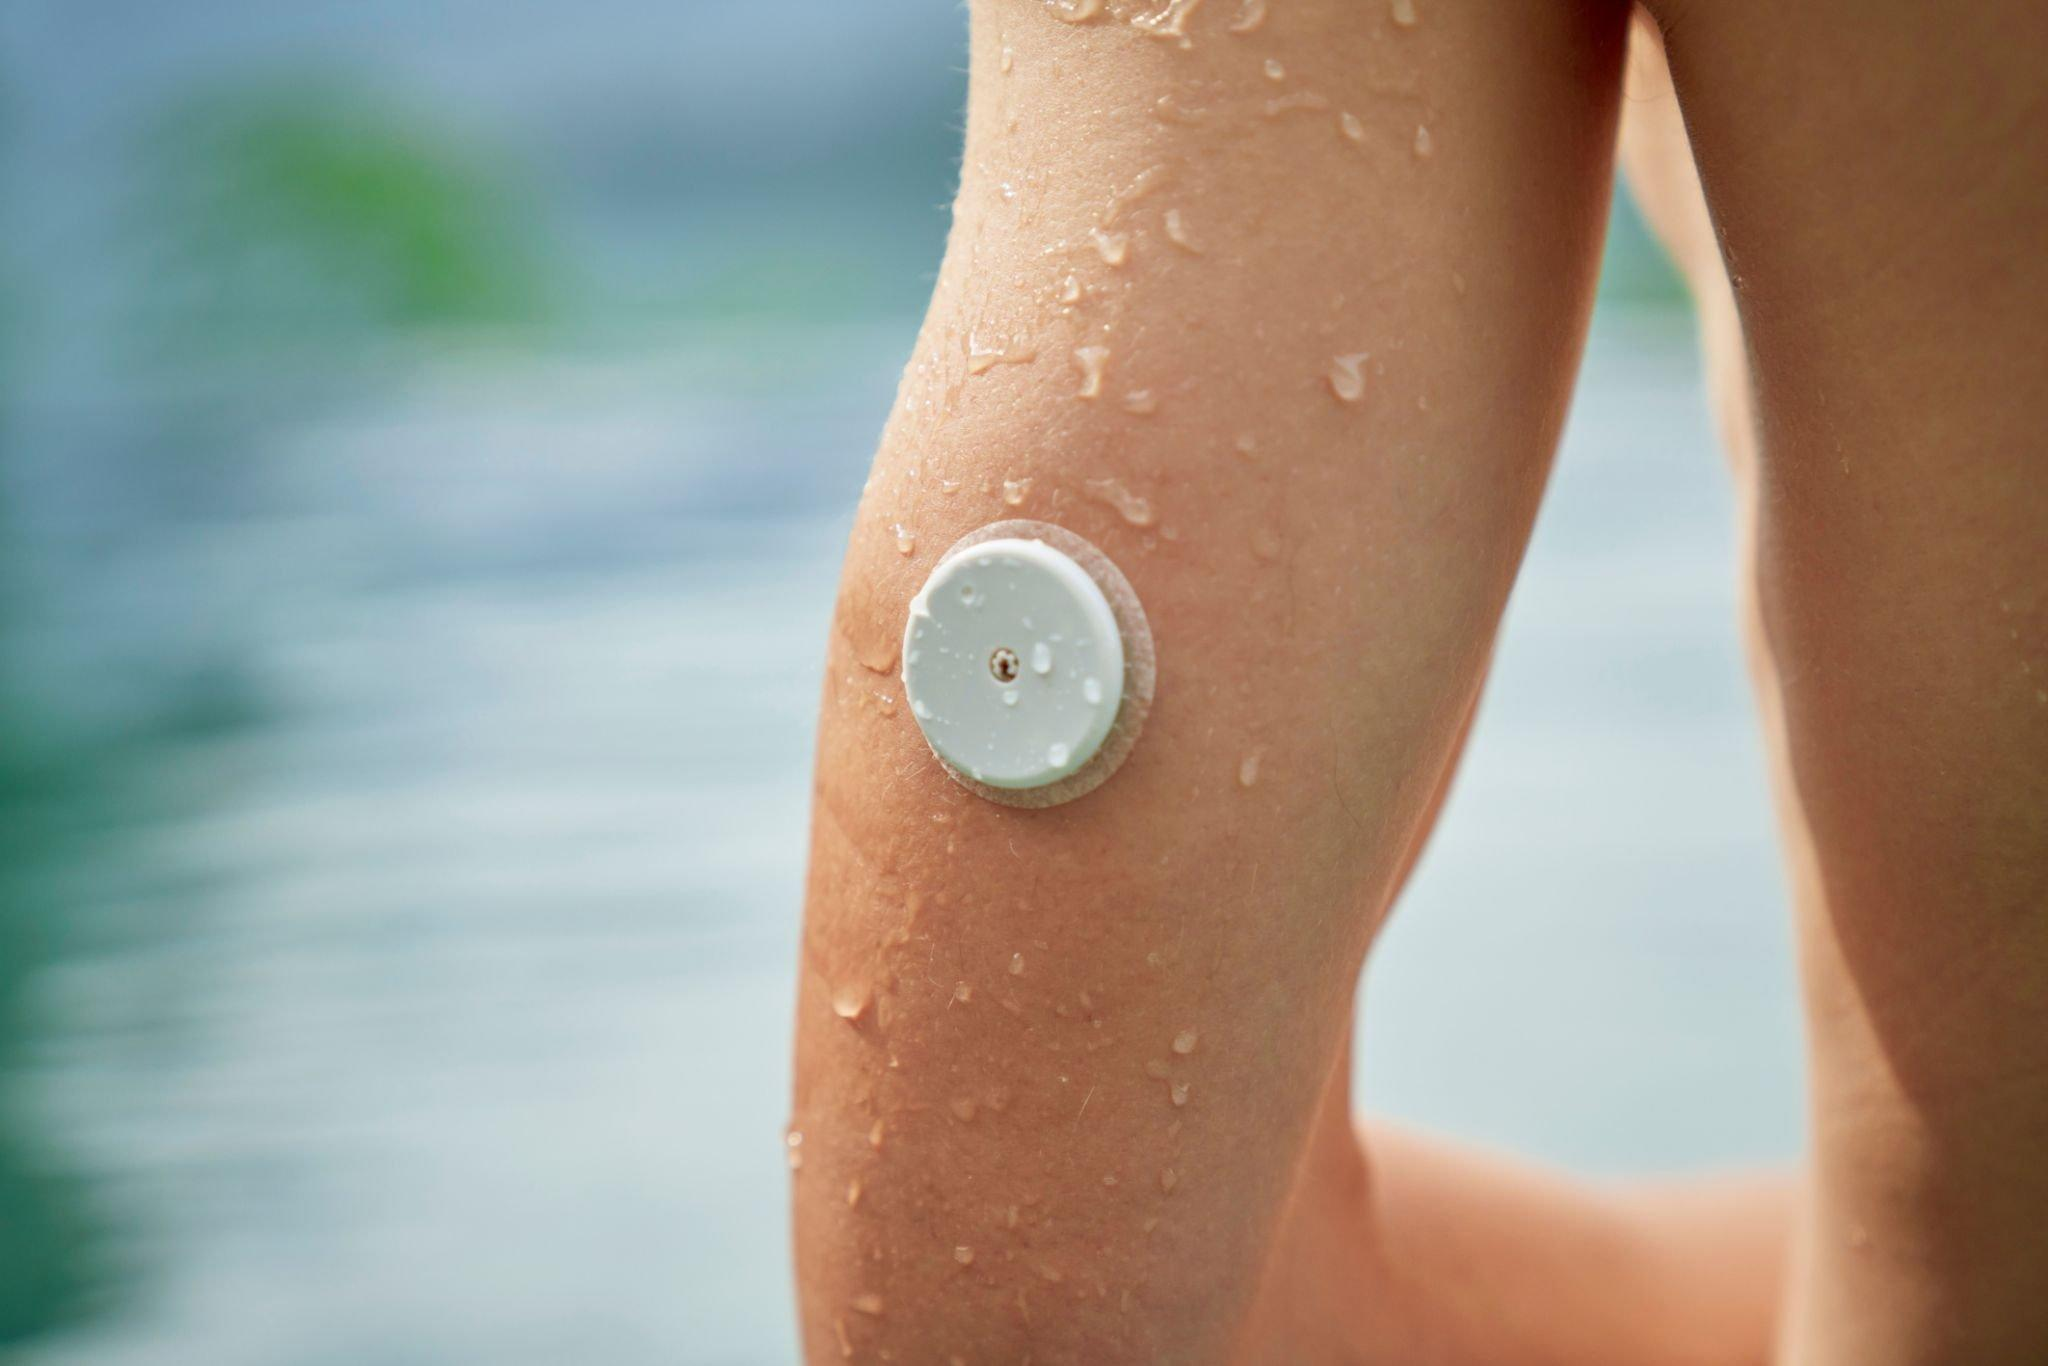
Minimizing Humidity
To ensure the sensor adheres well, avoid inserting it immediately after a shower or bath. High humidity can affect the adhesive’s effectiveness, so it’s better to apply the sensor in a dry environment or use a hairdryer to reduce moisture on the skin.
Using Antiperspirants
For individuals with skin prone to sweating, applying an unscented solid or spray antiperspirant to the site before the sensor application can help. Create an empty oval with the antiperspirant, wait for it to dry, and then place the sensor in the center. This can help in maintaining the sensor’s position and reducing moisture-related issues.
Applying Barrier Films
To prevent mild skin irritation from adhesives, consider using barrier films. Apply the barrier film on the skin, let it dry completely, and then insert the sensor in the center of an empty oval created on the film. This can provide a protective layer between the skin and the adhesive.
Regular maintenance, careful adherence to sensor replacement schedules, and proper skin care at sensor sites are crucial for optimal functioning.
Choosing a Reliable CGM
If you’re looking for a reliable solution in diabetes technology, explore Aptiva’s range of CGM offerings. We carry select products that offer superior accuracy and seamless integration with your lifestyle, helping you make informed treatment decisions and stay in control of your diabetes management.